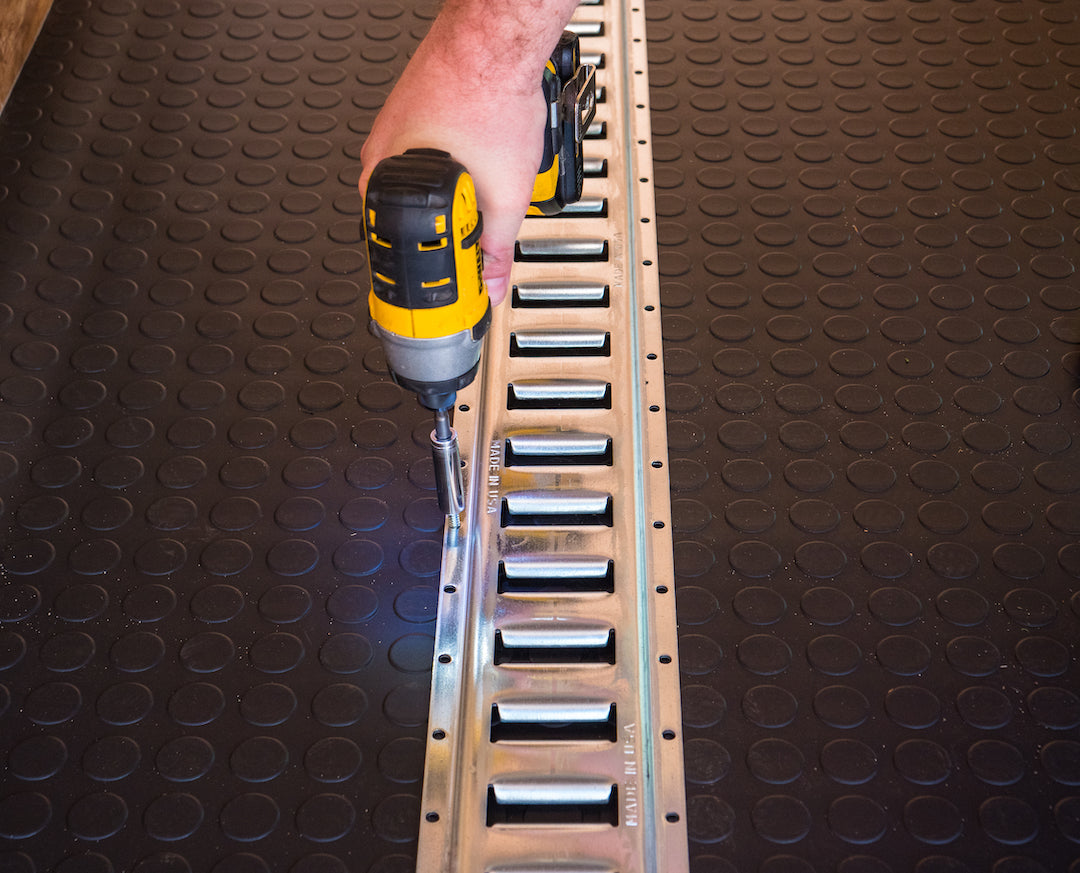
How To Install E-Track on a Flat Trailer
- 8' horizontal galvanized E-track rail section
- 1/4" x 1-1/2" zinc plated hex bolts and nuts
- #12 x 3/4 screws
E-track tie down systems for flat trailers are ideal for transporting motorcycles, ATVs, utility vehicles, snowmobiles and automobiles. Using this provides numerous tie down points to secure your cargo using d-ring fittings and/or straps.
Once you've determined which E-track you want for your trailer - galvanized vs. painted, horizontal vs. vertical - installing this product is simple. Follow our step-by-step guide below, or watch the video to learn how to properly install your E-track product. Make sure you have all of the necessary products before you start installing the track to your trailer.
What You'll Need:
You will need the following tools and fasteners to install e-track on a flatbed trailer:
- Cordless drill driver
- Measuring tape
- Drill bits
- Phillips head driver bits
- Adjustable wrench
- Pencil or marker
- 1/4" X 1.5" hex bolts
- 1/4" lock nuts
- 1/4" flat washers with an outside diameter of 3/4"
How to Install E-Track:

1. Lay E-Track Down
First, lay out the sections on the trailer in the approximate place where they'll be attached. As a result, you will visualize what the finished project will look like.
2. Measure it Out
3. Mark the Trailer Decking
4. Drill Holes Through Wood Deck
5. Insert Hex Bolts
6. Fasten Wood Screws to E-Track
More Resources You May Like
Learn more about these products with our E-track guide - including a general product overview, how to attach E-track fittings, and more. Check out more of our E-track blogs below:
Beginners Guide to E-Tracks and E-Track Accessories
Choosing Fasteners When Installing E-Track
How to Install E-Track in a Trailer
Load Bars vs. Shoring Beams: What's the Difference?
Ratchet Strap vs. Cam Buckle Strap for E-Track
What's the Difference Between L-Track and E-Track?


